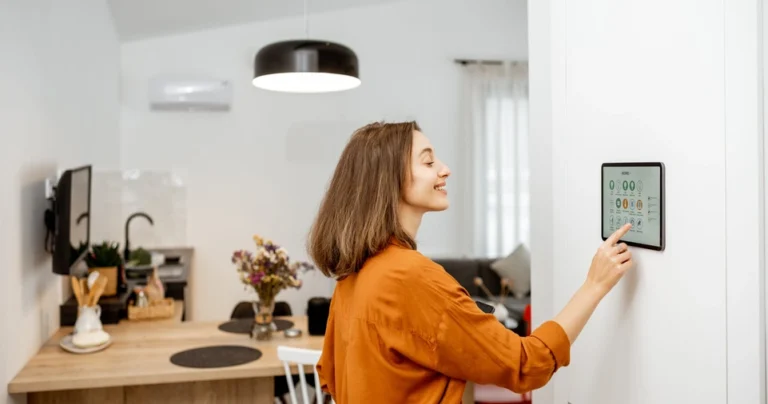
How to Install a Smart Thermostat Yourself?
Smart thermostats have transformed home climate control. Unlike traditional thermostats, smart thermostats allow users to program schedules, learn usage habits, and manage temperature remotely via smartphones or voice assistants. Besides convenience, they can significantly reduce energy bills.
Installing one yourself might sound intimidating, but it’s entirely manageable with the right tools and steps. This guide walks you through the installation process, from preparation to setup, and covers additional considerations like compatibility and troubleshooting.
What is a Smart Thermostat?
A smart thermostat is an advanced device that controls your home’s heating and cooling system. It connects to Wi-Fi and can be accessed via an app or smart home system. Many models come with features like learning your habits, geofencing, weather adaptation, and integration with other smart devices.
Benefits of a Smart Thermostat
- Energy Efficiency: Reduce energy usage by learning your schedule and preferences.
- Remote Control: Adjust settings from anywhere using your phone.
- Automation: Integrates with smart home systems for automatic adjustments.
- Usage Insights: Provides reports on energy usage and savings.
- Comfort: Maintains optimal temperatures efficiently.
Tools and Materials Needed
| Tools | Materials |
|---|---|
| Screwdrivers (Phillips and flathead) | Smart thermostat kit |
| Drill and bits (if required) | Screws and wall anchors |
| Level | Labels (usually included) |
| Smartphone or tablet | User manual |
| Voltage tester | Wire nuts (if needed) |
Check Compatibility
Before buying, ensure your HVAC system is compatible with the smart thermostat. Most manufacturer websites have compatibility checkers. Check for the presence of a C-wire (common wire), which supplies power to the thermostat. Some smart thermostats can work without a C-wire using adapters.
Turn Off Power
Turn off power to your HVAC system at the breaker box to prevent electrical shock or system damage.
Remove Old Thermostat
- Take off the thermostat cover.
- Note how it’s wired or take a photo for reference.
- Unscrew the base from the wall.
- Carefully pull the wires through.
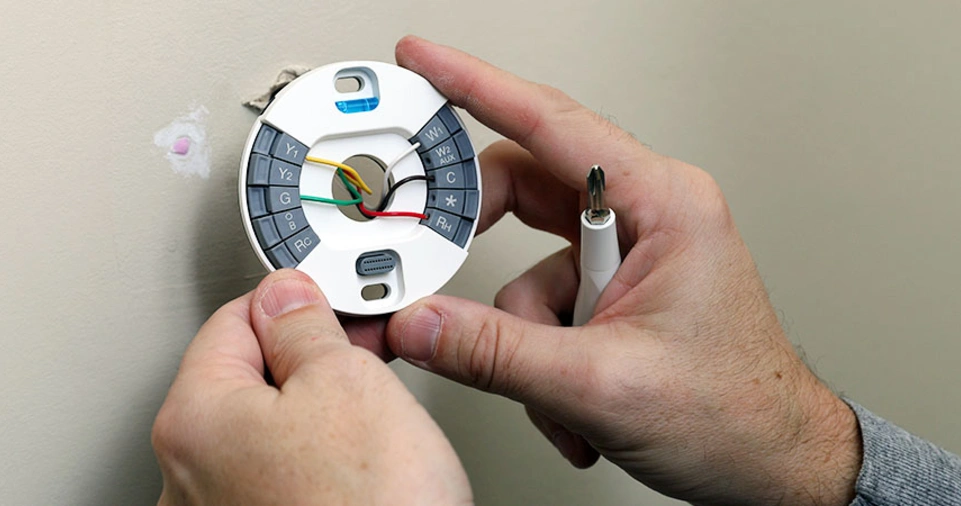
Label the Wires
Use the labels provided in your new thermostat kit to mark each wire according to its terminal connection (e.g., R, W, Y, G, C).
Install the Smart Thermostat Base
- Use the included level to align the base.
- Mark and drill holes if necessary.
- Secure the base to the wall using screws and anchors.
Connect the Wires
- Insert each wire into the appropriate terminal.
- Ensure connections are tight and secure.
- Double-check wire placement against the manual.
Attach the Thermostat Display
- Snap the display onto the mounted base.
- Make sure it fits snugly and is level.
Turn Power Back On
Restore power at the breaker box. The thermostat should power up. If it doesn’t, double-check the wiring.
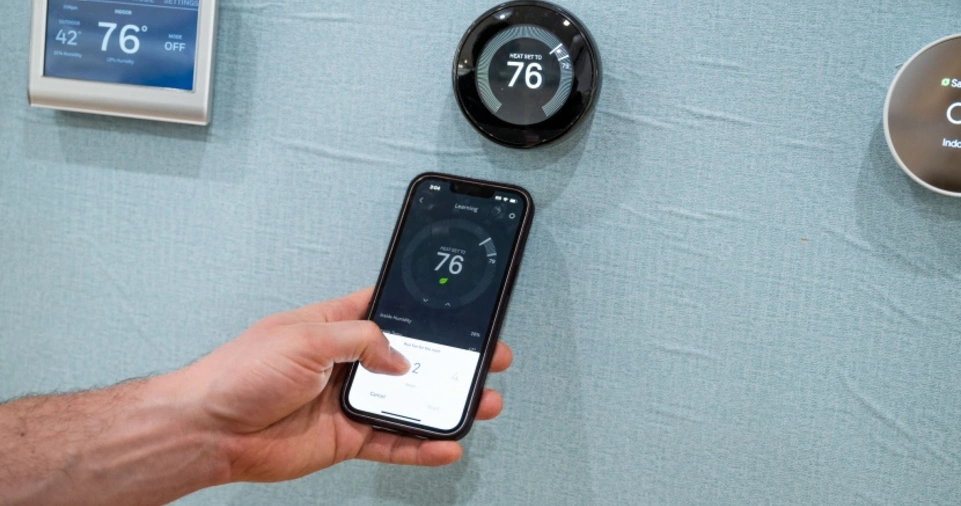
Configure the Thermostat
Follow the on-screen setup instructions. These usually include:
- Connecting to Wi-Fi
- Entering your home details
- Setting preferences (e.g., heating/cooling schedule)
- Registering the device
Connect to Wi-Fi and Smart Home Devices
- Use the thermostat’s app to complete the setup.
- Connect to Alexa, Google Assistant, or Apple HomeKit if supported.
- Test voice commands and remote functionality.
Troubleshooting Common Issues
| Problem | Solution |
|---|---|
| Thermostat won’t turn on | Check breaker and wiring, ensure C-wire is connected |
| Can’t connect to Wi-Fi | Move router closer or use a range extender |
| Temperature readings are off | Recalibrate in settings or relocate thermostat |
| HVAC system not responding | Verify correct wiring, consult manual |
Energy-Saving Tips with a Smart Thermostat
- Set schedules around your routine to minimize usage.
- Use eco mode when you’re away.
- Enable geofencing to automatically adjust temperatures based on your location.
- Regularly review energy reports to optimize settings.
Maintenance and Software Updates
- Clean the thermostat display occasionally.
- Check for firmware updates via the app.
- Review settings seasonally.
- Replace batteries if your model uses them.
Smart Thermostat Models Comparison
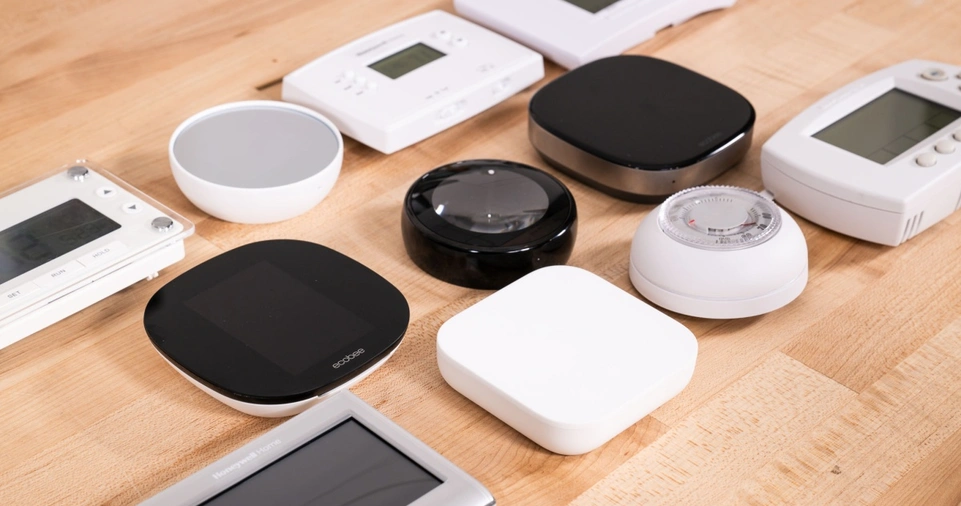
| Brand | Model | Key Features | Price Range |
|---|---|---|---|
| Nest | Learning Thermostat | Learns habits, remote control, integration | $200–$250 |
| Ecobee | SmartThermostat with Voice Control | Alexa built-in, room sensors, remote access | $180–$220 |
| Honeywell | Home T9 | Smart room sensors, geofencing, scheduling | $150–$200 |
| Emerson | Sensi Touch | Easy installation, budget-friendly, app control | $100–$150 |
Conclusion
Installing a smart thermostat yourself is a practical way to enhance home comfort, save energy, and embrace smart technology. By following the step-by-step instructions and ensuring compatibility with your HVAC system, you can complete the installation confidently.
With additional features like remote access, learning capabilities, and energy tracking, smart thermostats provide lasting benefits. Make sure to maintain your device and explore its features to maximize its value over time.